So now I set off for Bread Alley my own kitchen. Yesterday I did try to make a loaf and one stuck to the pan. The other is good and tasty but the size of a half cantaloupe.

Do not get me wrong I have made some delicious bread's but I am a girl who wants better than the last attempt. Does that make sense?
So here we are day two the starter is back out of the refrigerator. I do make a mean loaf of Country Bread from a book I purchased in San Francisco called Tartine Bread. I bought it on one of my visits to my daughter "Ms.Independence" on the Island of Oakland.
This is my Tartine Adventure in Bread Baking thank you for joining me.
Well by now it is day three I have spent most of the morning reading a website Azelia's Kitchen the site is brilliant and just a wee bit more understandable yet I must be a word dork. I am really making my starter by smell and bubbles. She has gotten me closer to an understanding but again I have both my starters out now. Her website breaks it down so you completely understand the making as well as the science.

So with everything ready here I go. Here is the Recipe to get your starter going. You need two Quart wide mouth mason jars or comparable plastic or glass no issue. I just do as much stuff with glass. Not big on plastic but that is another post.

Tartine Starter from the Book!
To make a Starter you need Culture. No not personal Culture Starter Culture. The Culture is created by flour and water being combined. The combination of the wild yeasts and bacteria present in the flour, the air and your hands begin the fermentation immediately. After this all begins you just need to feed your Starter.

I have made starter from powder San Francisco starter I sent for to try all ways and it to turned out great. You will need 5 pounds of flour this seems like a lot but you are going to use it to build the starter and feed it. Half all purpose flour and half whole wheat flour mixture.
Alright to get started you will mix in a quart wide mouth mason jar or a small clear container that you can see through. Fill halfway with warm water.

Now add a hand full of your 50/50 flour mix to the water and mix to achieve the consistency of a thick pancake batter with no lumps.

Now add a hand full of your 50/50 flour mix to the water and mix to achieve the consistency of a thick pancake batter with no lumps.
Use a dough spatula to clean the clumps off the sides of the container. Cover the container with a kitchen towel and put it in a cool, shady spot for 2 to 3 days. After 2 or 3 day's you should have some bubbles like the picture to the right. If not give it a few more day's.

After 2 or 3 day's check and see if any bubbles have started to form around the sides and in the middle. If not let it sit for a couple more days. Stir it

Once the starter has a film on the top and you pull it back and it is bubbly and smells like stinky cheese and has a sharply acid taste you are ready to start feeding your starter. Fermentation has started your ready for Lift Off!

To feed the starter you will need to remove 80 % of it. Replace it with equal amounts of warm water to the 50/50 flour mixture.
Do not worry about the quantities in these feeding you want a thick batter. Like a good thick bubbly pancake batter.


After 2 or 3 day's check and see if any bubbles have started to form around the sides and in the middle. If not let it sit for a couple more days. Stir it
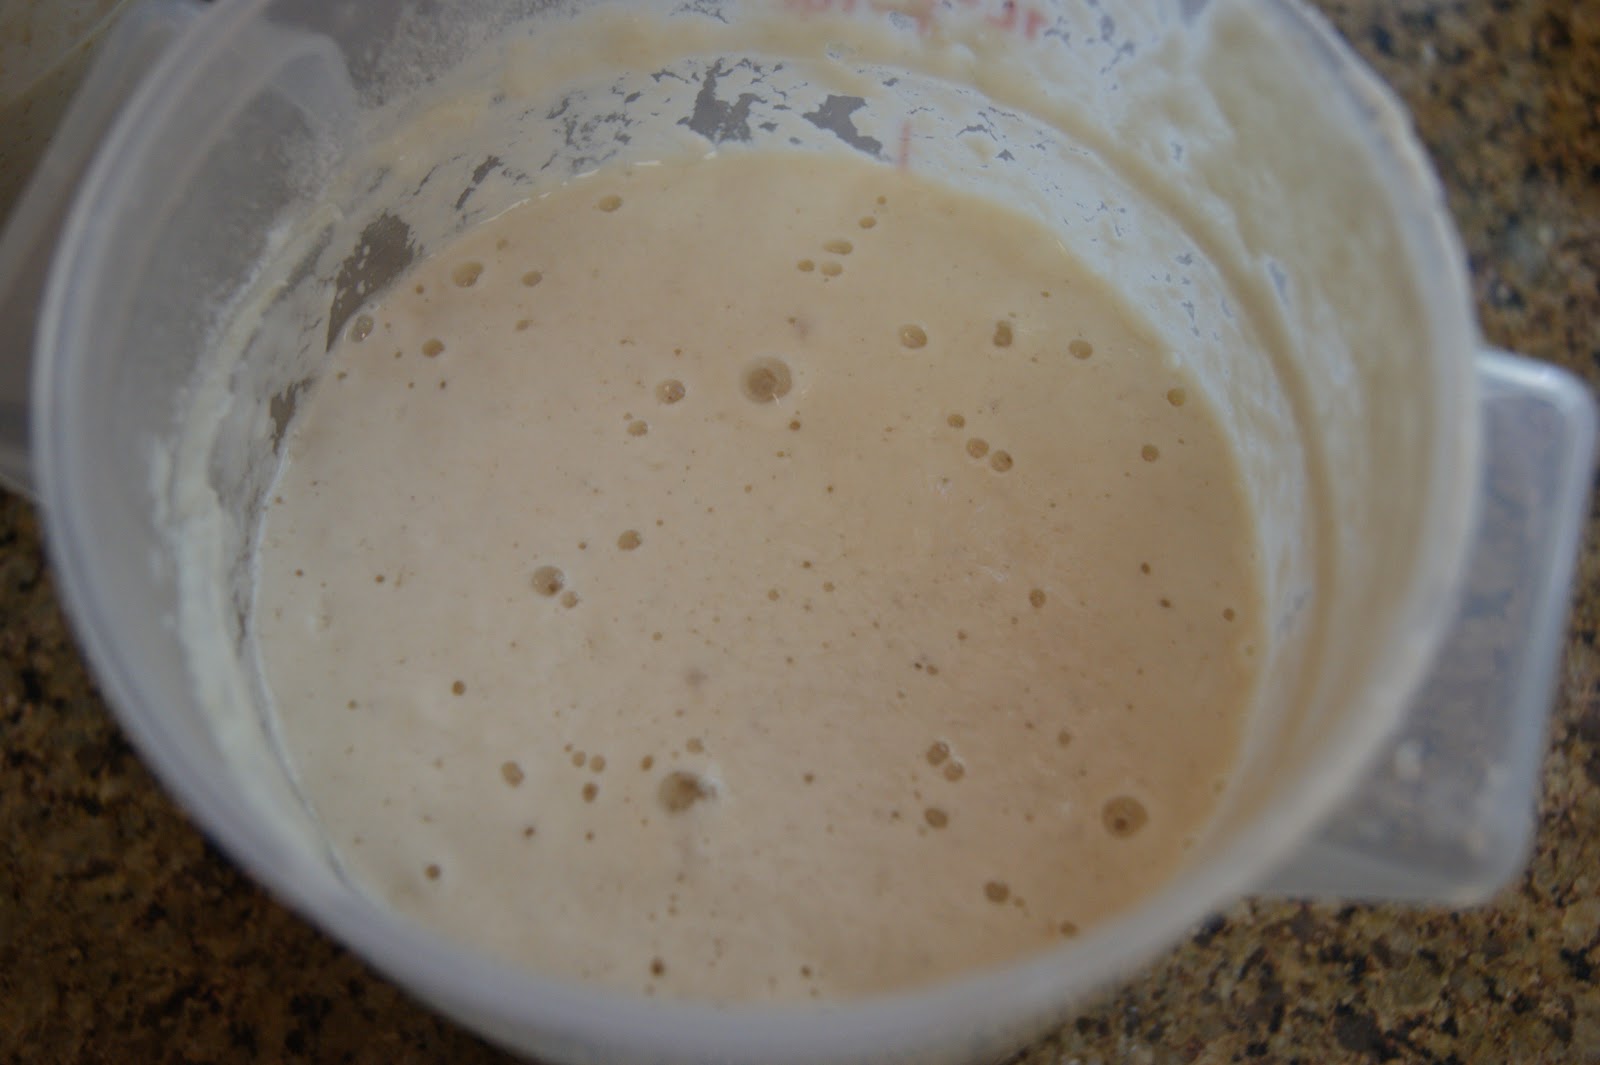
Once the starter has a film on the top and you pull it back and it is bubbly and smells like stinky cheese and has a sharply acid taste you are ready to start feeding your starter. Fermentation has started your ready for Lift Off!

Do not worry about the quantities in these feeding you want a thick batter. Like a good thick bubbly pancake batter.

You want to repeat this process every 24 hours As the volume of the batter increases you will notice the batter becoming bubblier and thicker. Your bacteria is growing.

This process is daunting but worth the effort. In the end you will have a starter you an use for years to come. You can also share it with other like minded baker people. The picture to the left is a beautiful starter and yes it is mine! Proud Mother Starter!

Well the next post will take you through the Making of the Leaven and the Dough

Look at the pictures they look pretty darn good. But just not good enough for me! If you are a baker you know what I am talking about. I have many a satisfied eater but it is like at Thanksgiving and someone says "You carve the turkey you do it so well" what you meant to say was "You carve the turkey because no one else wants to do it"


Well the next post will take you through the Making of the Leaven and the Dough

Look at the pictures they look pretty darn good. But just not good enough for me! If you are a baker you know what I am talking about. I have many a satisfied eater but it is like at Thanksgiving and someone says "You carve the turkey you do it so well" what you meant to say was "You carve the turkey because no one else wants to do it"


