Monday

Peanut Butter Brownies

These Peanut Brownies are so delicious I make them and POOF they are gone. I mean who does not like peanut butter. Sorry to those who are allergic. 

 Ingredients

1/4 cup plus 2 tablespoons unsweetened cocoa powder
1/4 tsp baking soda
1/3 cup vegetable oil
1/4 cup of boiling water
1 cup of white sugar
1 egg
1/2 tsp vanilla extract
2/3 cup of all purpose flour
1/8 teaspoon salt

Peanut filling

4 tablespoons unsalted butter room temperature
3/4 cup peanut butter * I used nutty because I like the crunch but either works
1/2 cup confectioners (powder) sugar
1/4 teaspoon salt
1/2 teaspoon pure vanilla extract

* Can be topped with 1/2 cup crushed peanuts

Preheat your oven to 350 degrees

Prep your baking pan.
I will line mine next time with parchment paper because the brownies stuck in a few corners.
But your options are to line with parchment or grease the pan or both. First spray the pan then add the parchment paper with the ends coming over the edge of the pan to make lifting out the brownie's easier.

I make the chocolate part of the brownie in my mixer making sure not to over mix.
The peanut butter part in a separate bowl by hand.


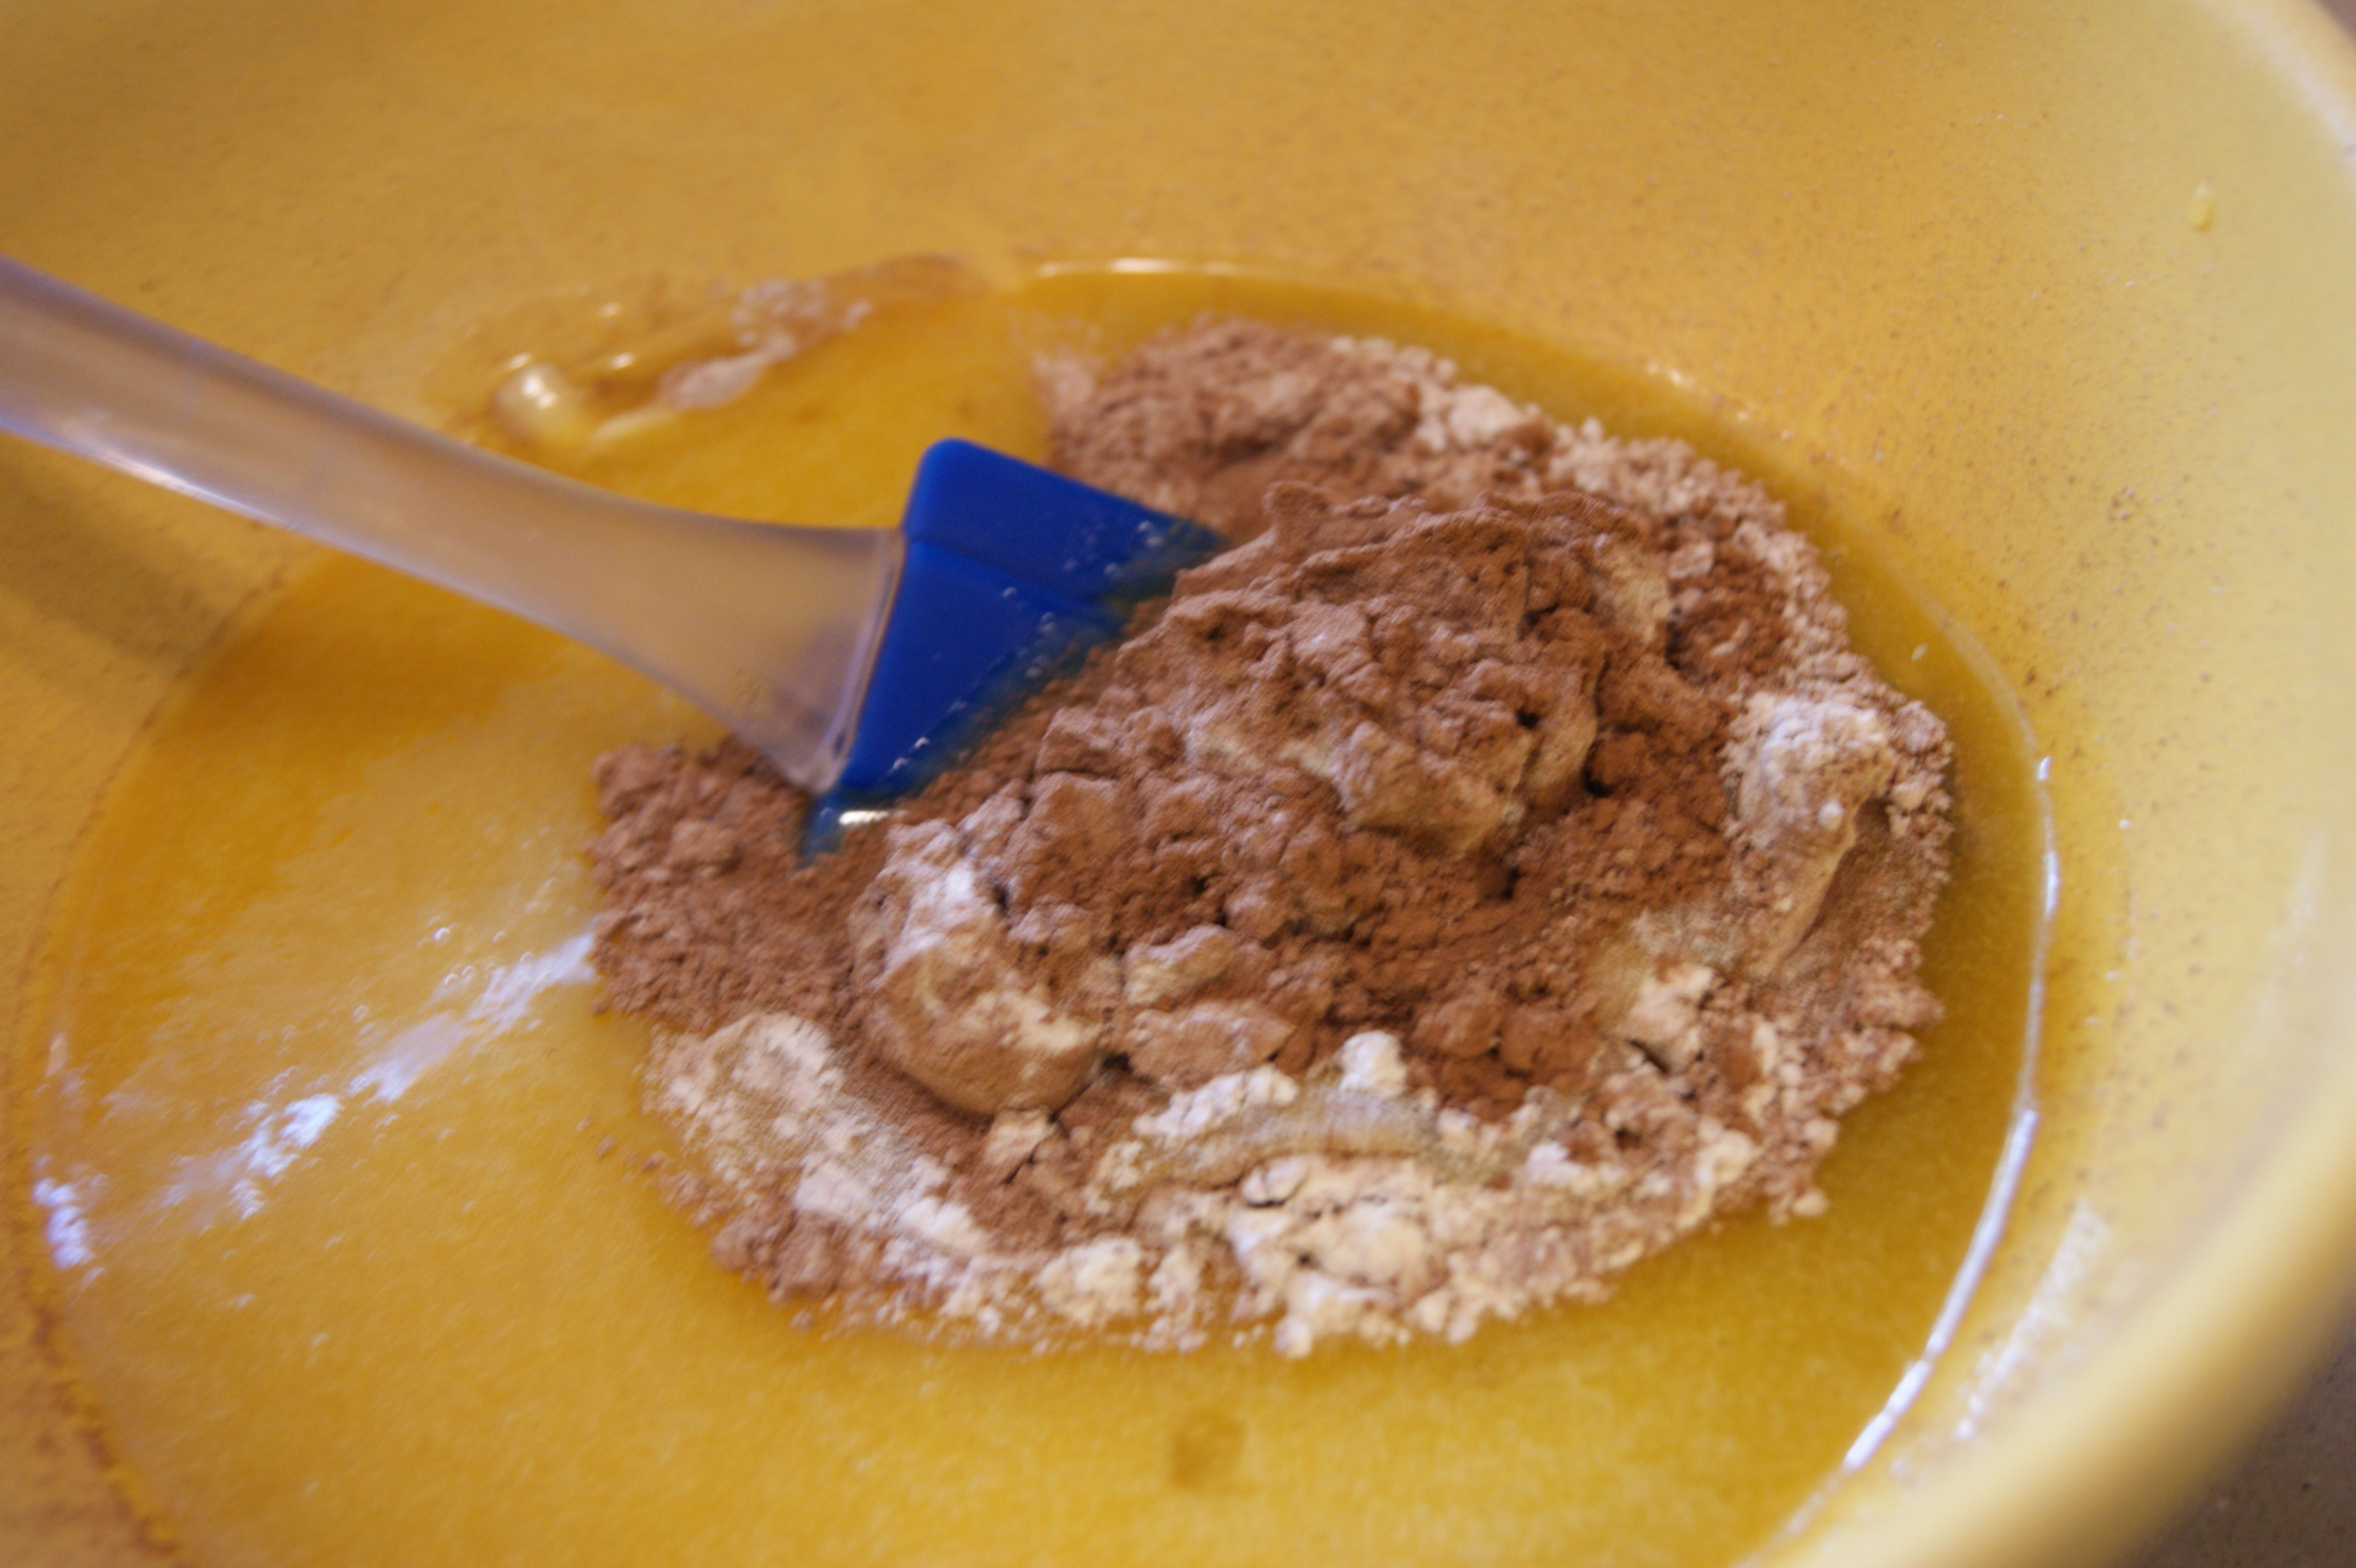
To start in your mixer or large bowl sift together the cocoa and baking soda. Add the boiling water and 1/3 cup of the vegetable oil. Mix until this is well combined and thickened. Mix in the egg, remaining oil, vanilla and sugar until well combined. Last add the flour, salt mix in until it is all incorporated .


Now for you peanut butter layer:

In a separate bowl mix together your peanut butter, butter, and vanilla until it is thinned and smooth. Add the Powered sugar and salt. Mix this until it is smooth and well combined.


Assembly

When you assemble this think more chocolate on the bottom of the pan, leaving enough of the brownie mix to swirl on the top.
Next look at the pictures that is why I love taking them. Put your chocolate enough to cover the bottom of the pan.


Spread the peanut butter on the next area across the top you can do like I did or dollop it. Get creative. Now pour the last of the brownie mix on top.


To swirl the top I took the end of a knife and gently swirled it. The swirl depends on the amount of peanut butter you want throughout out the dish. Swirl a lot to spread it even swirl a little to keep the peanut butter in clumps. Either way it will cook the same.


You can kind of see the swirls on the top.


 Also the picture below is of the batch I made with added peanuts. I love nuts. So the addition of that nutty-ness was fabulous. 


And then a little extra brownie topping on top of that ! 


Bake your deliciousness in the preheated oven at 350 degrees. For 35  + minutes use a toothpick to check it. You put a toothpick in the center and it is ready when it comes out clean. Let it cool on a rack then serve.

Adapted from this Original recipe link

Friday

Dutch Oven Popcorn and Spices


Popcorn one of my all time favorite snacks. There are such a variety of seasonings flavors to put on the popcorn the flavors are endless. At the end of this post I will list some variations for combinations for your popcorn extravaganza. 


Fresh is always the best like we used to do it until my parents could afford some Jiffy Pop that was a treat. And who ever got to cook it on the stove well it proved leadership. If you must use microwave make it the non buttered otherwise your seasoning will not stick to the popcorn. Let us get started because the Bruce Willis movie is waiting. 

Ingredients

3 tsp peanut oil
1/3 cup of quality popcorn kernels
2 Tbsp. or more (to taste) of butter
Seasoning to taste get creative
Iron Dutch Oven or any Deep Pot
 or an Air Popper

**The seasoning flavors are at the end of this post**


Heat the oil in a deep pot on medium high heat
Put 3 popcorn kernels into the oil, cover the pan
When the kernels pop, add the rest of the 1/3 cup of popcorn kernels in an even layer


Cover,remove from heat and count 30 seconds.

*** Waiting 30 seconds brings all of the other kernels to a near-popping temperature so that when they are put back on the heat, they all pop at about the same time.


Return the pan to the heat. The popcorn should begin popping soon, and all at once. 


Once the popping starts, gently shake the pan by moving it back and forth over the burner.

Try to keep the lid slightly ajar to let the steam from the popcorn release . 


Once the popping slows to several seconds between pops, remove the pan from the heat, remove the lid, and dump the popcorn  into a bowl. 


Now the fun begins. What topping do we use. Butter time. This is a personal choice on how much butter. It is best to use some
because your seasoning will adhere to the popcorn much better. And a little butter goes a long way. Just melt the butter and pour slowly while stirring the popcorn to coat every kernel. 


There are two lists at the bottom of this post. One has a list of just seasoning the next is recipes for a mixture of seasoning. 

 Fun topping
  • Spanish Smoked Paprika
  • Cayenne Powder
  • Chili Pepper
  • Parmesan cheese

Recipes for seasoning toppings 

Each one of these recipes calls out for 5 cups of popcorn. It does sound like a lot but it is not once you sit down, turn on the movie and begin the munch. The recipes below are for popcorn topping made with spices you more then likely already have at home. 

Every one of theses combinations have the same amount of oil to butter so I will give that to you now and you choose what recipe you will combine your popcorn with.

Let's start with savory and spicy. 

Everything Bagel
spice one of the most popular spices on the shelf this last year. You can buy a jar of this spice or whip it up yourself. The ingredients are dried chopped onion, dried chopped garlic, salt, pepper, poppy seed, sesame seed. Lightly coat your popcorn with melted butter and slowly add the spice combination stir to make sure all the popcorn is coated. 


**** Remember with all these recipes a little goes a long way.


Ranch and Chive 3 tablespoons ranch dressing powder, salt to taste, Lightly coat your popcorn with the melted butter and slowly sprinkle the popcorn with the Ranch Dressing Powder Salt Combo. Top the popcorn with 1/4 cup fresh chives thinly sliced you can also use  2 tablespoons dried chives.

Spicy Hot Popcorn Butter your popcorn. In a small bowl mix together 2 teaspoons paprika, 1 teaspoon onion powder, 1 teaspoon garlic powder, salt to taste, 1/2 teaspoon ground pepper and a pinch of cayenne or a tablespoon crushed red pepper flakes. Mix the seasonings together and sprinkle o the buttered popcorn stirring to coat it all.

Italian Pesto Popcorn  With this popcorn I would have you coat your popcorn with butter mixed with a  a small amount of olive oil its Italian after all. This is delicious. Mix in a small bowl 1 tablespoon fresh chopped basil, 1 teaspoon crushed pine nuts, 1/2 tablespoon oregano. Sprinkle the mix onto the buttered popcorn and coat completely. 


Now some Sweet Combinations


Popped Full of Sugar this popcorn is full of your favorite candy plus a bit of salty. Always start by buttering your popcorn. Next pick some of your all time favorite candy to add. I add plain M&M's and chopped mini pretzels. Once buttered add all your candy and top with a dash of salt. Many times I will switch out my M&M's for Good and Plenty. 

Sweet Cinnamon Popcorn I love Turbinado Sugar and this is in my opinion the best to mix with your cinnamon. Start by buttering your popcorn. n a small bowl mix 2 tablespoons of sugar with 1 1/2 teaspoons of cinnamon. Sprinkle on the buttered popcorn while stirring to make sure every kernel gets a coat. 


Wednesday

Frittata with Broccoli and Cheese

Frittata is an Italian dish did you know that? Making a frittata is so simple and can be as plain or creative as you like. I always like to find out what a food is prior to cooking it. I did not get all brainyyack on it just general information. Original recipes cook the eggs prior to baking and then add the ingredients and finish it off in the oven. I mix all the ingredients together and bake it in the oven till done. 


 Unlike a Quiche a Frittata has no crust.

Ingredients

4 cups chopped steamed broccoli
3 scallion onion chopped
1 finely chopped garlic clove
1 cup shredded cheddar cheese
1/4 cup water
1/4 cup milk
8 eggs
salt and pepper to taste


Steam your broccoli. Steam it to the texture you like I am a crunch head so I like mine a bit firm and knowing it will cook more in the oven it is steamed just so slightly. I then pan fry the broccoli and onion to just brown. Once cooked set aside you want it to cool slightly never add hot ingredients to raw eggs it will cook them. Pop it in the refrigerator while you mix the other ingredients.


Alright while that cools let's get our wet ingredients together. In a large mixing bowl add your eggs, milk, water and seasoning. Whisk them together until well mixed. Now add you broccoli and onion and cheese. 


Once this is all mixed up pour it into your pan. Spray or grease your pan. You can use a round cake pan. An oven safe skillet or what I like to use my iron skillet. I use an iron skillet for many of my recipes. The iron skillet gets super hot and the heat cooks evenly all the way around. Just be careful taking it out of the oven. 

Cook this in a 375 degree oven for 30 minutes. Increase the temperature to 400 for the next 15 minutes to brown the top and when a fork comes out clean it is done. Remove from the oven and let it cool down for about 20 minutes and serve.


Tuesday

Old Fashion Brownies


My Grandmother use to make the BEST brownies. I have made them for years and just realized that there is no copy on this Blog. Holy Brownie they are gone before they can even cool. 

Well let us get straight to the recipe


Ingredients - Preheat your oven to 350 degrees

  • 1  1/4 cup of flour
  • 1/2 cup of unsweetened cocoa powder
  • 2 egg
  • 1 cup granulated sugar
  • 1 stick butter soften
  • 1/2 cup of walnuts (yes I used more)
  • 1/4 teaspoon salt


Use soften butter I leave mine out overnight. You can melt it in the microwave personally I am pretty old-school. Also I sift the flour, cocoa, and salt together. 


Start by mixing the butter and the sugar in a bowl. Once they are mixed well set them aside. Add the cocoa mix sift it into the mixture.

Now beat your eggs in a separate vehicle and then add that to the sugar mix . I just use the measuring cup to beat my eggs by hand.

I do not take my Kitchen Aid out for this recipe. I find doing it the way my grandma would have makes it a more loving and emotional process every time.


Add your flour with salt and stir together. 


The mixture should be very thick. It will be super thick that is ok that is what makes them so gooey. Now last but not least add your walnuts. Yes, I add a lot but we love the crunch with the gooey.


Alrighty you are ready to put them into the pan. I spray a 8 x 8 pan and also line it with parchment paper this makes it easy to take them out once cooled. When there are some left I wrap them in that parchment paper with some aluminum to seal.


Pop your browns right into a hot oven. 350 degrees. Bake for 45 minutes and check them by poking a toothpick through the middle that comes out clean. 


Once cooled cut and serve. 

Thursday

Oven baked Baby Back Ribs

Let us talk Fall off the Bone! I have always gone to the BBQ to make my ribs Wait my Hubby has I just stood by watching thinking this was the only real way to do ribs. Nope. After much research I found out the oven works just fine. You could even throw the Oven Cooked Ribs on to the BBQ for the last few minutes to crisp them up. 


But since you already have the oven on just crank it up to broil to High and give them a few extra minutes. Keep an eye on them.

This recipe is for Baby Back Ribs. You can use Beef Ribs to just cook a bit longer say one hour. I use homemade rubs for all my cooking. I buy my seasoning at Oaktown Spice Shop.

I know it is far but the quality and variety is amazing. I do not just go to the store and buy spices willy nilly. I plan them and get only get what I need or grind my own from garden grown herbs.So for these ribs I used the following ingredients for the rub. Here is a link to 3 Rubs I make for BBQ chicken. But below is what I used for the Ribs

Rub Ingredients

  • Roasted Garlic 
  • Grand Lake Shake
  • St. Basil BBQ chop Rib Rub
  • Citrus Pepper
  • Smoked Paprika 

Ribs One Rack of Baby Back Ribs

Set your oven for 270 degrees


The amount of rub is based upon the amount of ribs. I just eyeball it. Equal parts of my favorites followed by don't forget this one. Get creative people. 

Wash your ribs. The membrane. This is a tricky subject. Personally I do not care if it is left on. It just makes them a bit more chewy.  Most ribs come with it already off. But my butcher is fresh and all the work but cutting is done at home by me. It is easy to take off flip your ribs over bone side up. Take a small sharp knife and slip it under the skin of the bone. If the membrane is still on it will come off easy. Just use a paper towel grab it and tear in one direction. 

Put your ribs on a aluminum (enough to make an envelope to cover them when cooking) cover baking sheet or any cooking pan with a rim. Put your rub on I start with the bone side first this way the rub I put on the top is going to stay there when they are cooked.  Yum. 

I just sprinkle and spread. 


I use gloves with everything I do in the kitchen. It is sanitary and helps not to have to be washing your hands every step. 


Once your ribs are covered with your wonderful rub. Cover them by making an envelope around them.

This way they actually are havng a steam bath and all that flavor stays in for the ribs to soak up. Don't worry about extra rub dropping around the ribs it won't burn. 


Pop your baking sheet 
into the oven and cook for 2 hours. Once they are done take them out let them cool for a few minutes or at least be careful they are going to throw off steam when you open the pouch. Open the envelope and pour some BBQ and pop it back in the oven/ Broil mode Hi to crisp the tops. Optional.


They are drop off the bone delicious. This really makes me rethink the BBQ being it takes so long and you need to watch them every minute. Shhhh we will still let the men think BBQ is the way to go!


Monday

Old School Buttermilk Pie

Buttermilk Pie well you know I had to defrost some buttermilk for some cookies I was making.


This Buttermilk Pie for my Pa was worth the time. Wait it took no time really gee ! I always have buttermilk in the freezer because I always have more that I need when baking. So out came the buttermilk and in goes the Buttermilk Pie. The funny thing is that no one but my Mama ever heard or had it. 


Strange how some of  the food's our parents-parent's made are either dying or forgotten. 
Well this Buttermilk Pie has been revived by this family for generations to come. Let's start by making the crust


Ingredients for the crust

1 packet of graham crackers from a box (It usually has 9)
1/4 cup of brown sugar
1 tsp pure vanilla extract
1/4 cup of butter room temperature or melted

In a food processor grind up the graham crackers until reduced to crumbs. Add the sugar and pulse until combined. Pour in vanilla and melted butter and process until crumbs are all moist.


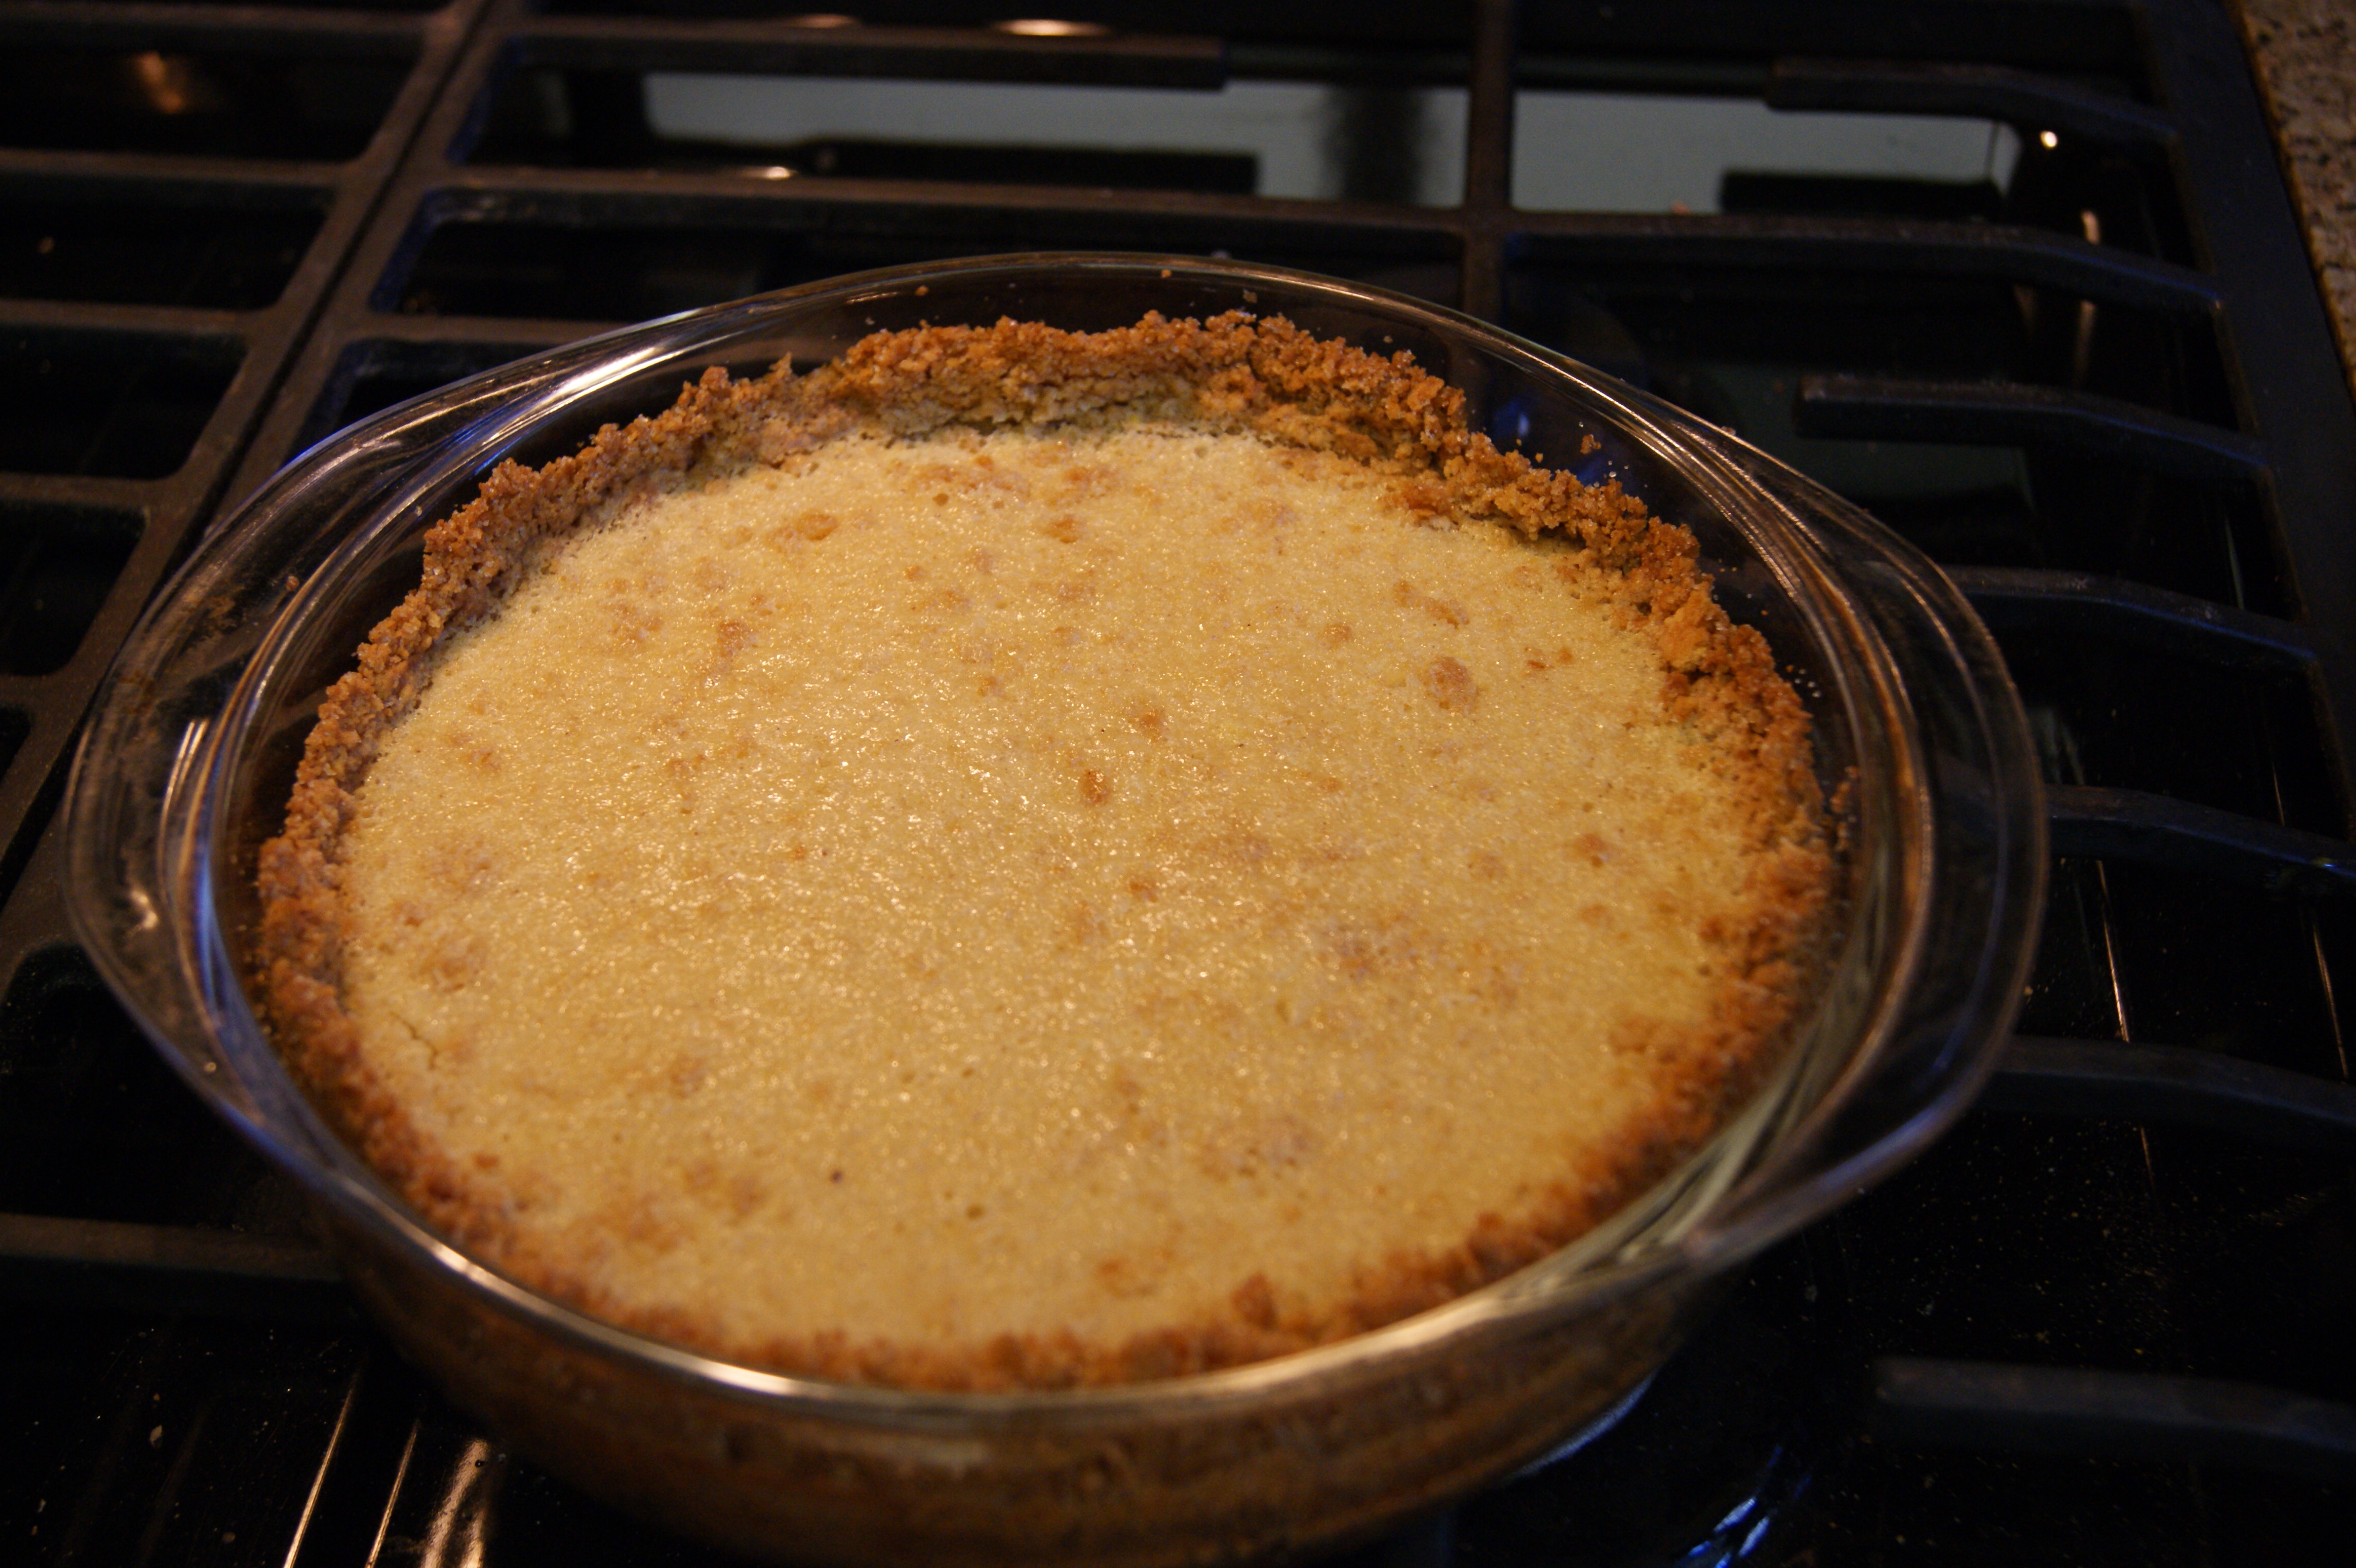
Press firmly and evenly into a 9" pie pan. Make sure you push it up the side till it is a safe distance from the top of the pan. Look at my pictures and notice that the crust shrunk after it baked. You can bake the crust at this point (or not) in a 375 degree oven until edges are brown. Then set aside to cool.


* Crust changes I made. I used brown sugar it make a more flavorful crust and give the edges a little crunch. Break up your graham crackers prior to running them in the food processor other wise you get to many big chunks. I left the pieces of graham cracker that did not break up. Some of them were about say little nugget size and they floated into the pie, so good!. Also I did not bake it prior to filling it and it turned out great. Actually I forgot to bake it because I was so excited and lucky me it was ok. And last but not least once the crumbs were crushed in the food processor I turned them out into a bowl added the ingredents for the crust and  mixed the crumbs by hand. I like to feel that the cracker crumbs is completely saturated and I do not like my crust to be pulverized by the food processor. I am a texture girl.

I had to show you my home made vanilla extract .Try making some it is a no brainer so easy. Actually it makes itself.

Ingredient for Buttermilk Pie - Preheat your oven to 350 degrees

2/3 cup brown sugar
3 tablespoons all purpose flour
1/4 teaspoon salt - sift this and the nutmeg in with the flour prior to adding to mixture
1/4 teaspoon fresh grated nutmeg
3 large eggs
1 tsp pure vanilla extract
1 tablespoon butter (softened)
1 /12 cups of buttermilk

In your mixing bowl combine brown sugar and flour mixture until combined. Add eggs one at a time until mixed. Add vanilla, butter and buttermilk and mix until smooth.


Pour your buttermilk mixture into the prepared graham cracker crust it should fill about a 1/2 inch or so from the top of the crust. Put your pie into a preheated oven 350 degrees and cook for 30 to 40 minutes until the pie is set. It is not the same as cream cheese it should not giggle. It will be light brown on the top. Cool and serve warm or cold.


Thursday

Moist Leftover Fruit Bread/Cake


This cake is the best cake I ever ate. It is moist beyond any cake I ever made. It is delicious with the nice variety of leftover fruit I had to use. And I think the touch of yogurt was what really hit the moisture level I got. I love to watch cooking shows but hate going to most websites because they have more pop ups and advertising then I need. I will watch and write a recipe while watching the show. 


I don't always get all the ingredients and rarely check the site to make sure. I just write it on a napkins run to the kitchen and cook. After cooking it I did check to the site and yup she missed a few ingredients (or she left out) this one I grabbed from Pioneer Woman on TV and noted it was not the same as she had on the website but mine turned out heavenly so those missing ingredients and measurement made this cake awesome. 

Lets get started ....


Ingredients

  • 1 1/2 cups of flour
  • 3/4 cup sugar
  • 1 stick of butter (softened)
  • 1/2 small container of plain yogurt 2.5 ounces
  • 1 tablespoon of vanilla extract
  • 1 tsp baking soda
  • 1 teaspoon salt
  • 1 old banana
  • 1/2 cup approximately of blackberries
  • 1 cup or so of blueberries
  • Preheat your oven t 350 degrees


** Remember this is fruit that you need to use or put in the compost pile tomorrow. So use that brilliant head of your's to know how much. You got this!


To the left is my old fruit. I guess-da-mated


Alright the only tools you need is a large bowl and a tool to mix with. I did not use my mixer it
really was not necessary. Smash your banana and have it ready. Take your butter, sugar and vanilla, egg and mix together. Once mixed add your banana then the flour, baking soda and salt. I sift my dry ingredients into the batter this way there are no lumps. 


Make sure you mix your berries into some flour this will help them not to sink while cooking. 


Just toss them with about 3 tablespoons of regular flour. 


Once they are coated with some flour just gently add them to the batter. Mix it together be gentle at this point. Just toss them with about 3 tablespoons of regular flour. 


Your cooking pans should be sprayed with some kind of oil. Then if you want add parchment paper. I do because it makes the bread easier to remove from the pan. Cut a piece of parchment paper and lay it into the pan let it fall over the long edges of the baking pan. Like the picture yes I cut my just a bit to long. But it worked well anywho.


Alrighty now pop it into the oven and bake for 50 + minutes. Use a toothpick to pierce the center to make sure it is done. When you bring the toothpick out of the bread it will be clean.


Let the bread cool for about 20 minutes and then transfer it to a rack or plate of you have no rack. I never seem to be able to wait and I cut into it in the first 15 minutes. Granted that many times it falls apart but it is so delicious even crumbled a bit. And butter helps it stick.  

Enjoy! 


Tuesday

Spaghetti and Meatballs


Spaghetti and Meatballs a dinner classic for any table. My Mother-in-Love was pure Sicilian and her recipes although when read I question have turned out to be mouthwatering originals. They have been passed down from generation to generation and I hope to carry this tradition on in my own family. 


Ingredients for your balls

  • 1 pound of ground beef
  • 1 pound of ground pork
  • 1 medium carrot- grated
  • 2 stalks of celery-finely chopped (optional)
  • 1 medium onion-grated
  • 1/4 cup of whole milk
  • 2 large eggs beaten
  • 2 cups bread crumbs
  • 1 1/2 cups fresh chopped parsley
  • 1 teaspoon oregano
  • 2 tablespoons kosher salt
For your Sauce

1/4 cup Olive Oil
1 medium onion chopped
2 teaspoon kosher salt
2 fresh bay leaves or 3 dried
1/2 teaspoon peperoncino flakes
2 tsp dry mustard
1 tsp smoked paprika
1/4 cup vinegar
1 tablespoon dried oregano
2 - 28 ounce cans of tomato sauce
1 - 28 ounce can of plum tomatoes crushed

First we need to get the sauce done this way it is ready for the balls when they are made. You want your balls to cook as long as possible in the sauce. This lets the flavor go to the balls keeping them moist and tender. 

Use a big pot as you will make the sauce and have the meatballs in this also. And as you cook you may want to add different ingredients. Like I always say you need to make recipes your own. So taste and add what makes your palate sing. 

Add some olive oil to the pot and cook the onion until softened. Turn down the heat and add your tomatoes and tomato sauce. Next add your vinegar and all your spices. Let this mixture simmer for as long as it takes to make your meatballs. Stir as you go. Lets get those meat balls done. 

First thing you must remember is that you do not want to over mix your meats this makes for a tough meatball. Have a large bowl ready to combine the ingredients for your meatballs. Place the beef and pork in the bowl and tear and mix them softly. Next top with your chopped carrot, celery  and onion. Let this sit covered while you get the wet ingredients together. Mixing them together in a separate bowl lessens the mixing of the meats. 


Place your bread crumbs into a small bowl add tour spices and mix well. Now make a well in the middle of the crumbs. Pour your milk into the well. Mix this together until well mixed. You want this mixture moist and easy to add to the meat mixture. 

Let it sit for a few minutes to soak up the flavor.


You want everything ready when you are going to mix the meat remember the key is mix less makes moist meatballs. The less you work the meat the better. That is why I mix the pork and beef softly at first. Then add the seasonings and veggies to the mixture without mixing until I have the bread mixture ready then do your thing with mixing softly. 


Once everything is mixed it is time to make your meatballs. I make them and pre-fry them in a 
skillet to get them browned up. Once they are a bit more solid I will add them to the sauce to finish them off and get that mixture of sauce and meatballs perfect. You can also cook your meatballs in the oven prior to adding them.


I personally like a bit of the flavor from frying. Let your mixture of sauce and meatballs sit and simmer for at least one hour. The longer the better just stirring frequently. I use my meatball with a light noodle pasta called bow ties. Enjoy next we will make them with sausage added. 

Oh Yum !


Homemade Scallop Potatoes


This recipe made me do a lot of research because I wanted to know more about cheese. This will be in a further post on melting and the taste of cheeses. I made the scallop potatoes with some Baby Back Ribs. Another great and easy recipe. The ribs just sit in the oven and bake until you serve them and they are fall off the bone delicious. 


Ok stay focused Lani. Let us get started by having all your ingredients and tools ready. Set your oven to 350 degrees.


You will need an 8x8 pan to bake the potatoes in. 

The most painstaking part of this recipe is the cutting of the potatoes. If you have a mandolin
 it is easy peazy. If not cut your potatoes into thin slices no bigger than a 1/4". A small pot to melt the cheese butter and flour in. Add a bowl of cold water to place the potatoes in once slices. This helps get rid of some of the starch in the potatoes.

Ingredients

4 cups of thinly sliced baking potatoes
3 tablespoons of butter
1 1/2 cups of milk
1 tsp kosher salt
1 dash of cayenne pepper (I use a bit more for the bite)
1 teaspoon smoked paprika
1 1/2 cups of sharp cheddar cheese (divided 1 cup and 1/2 cup)


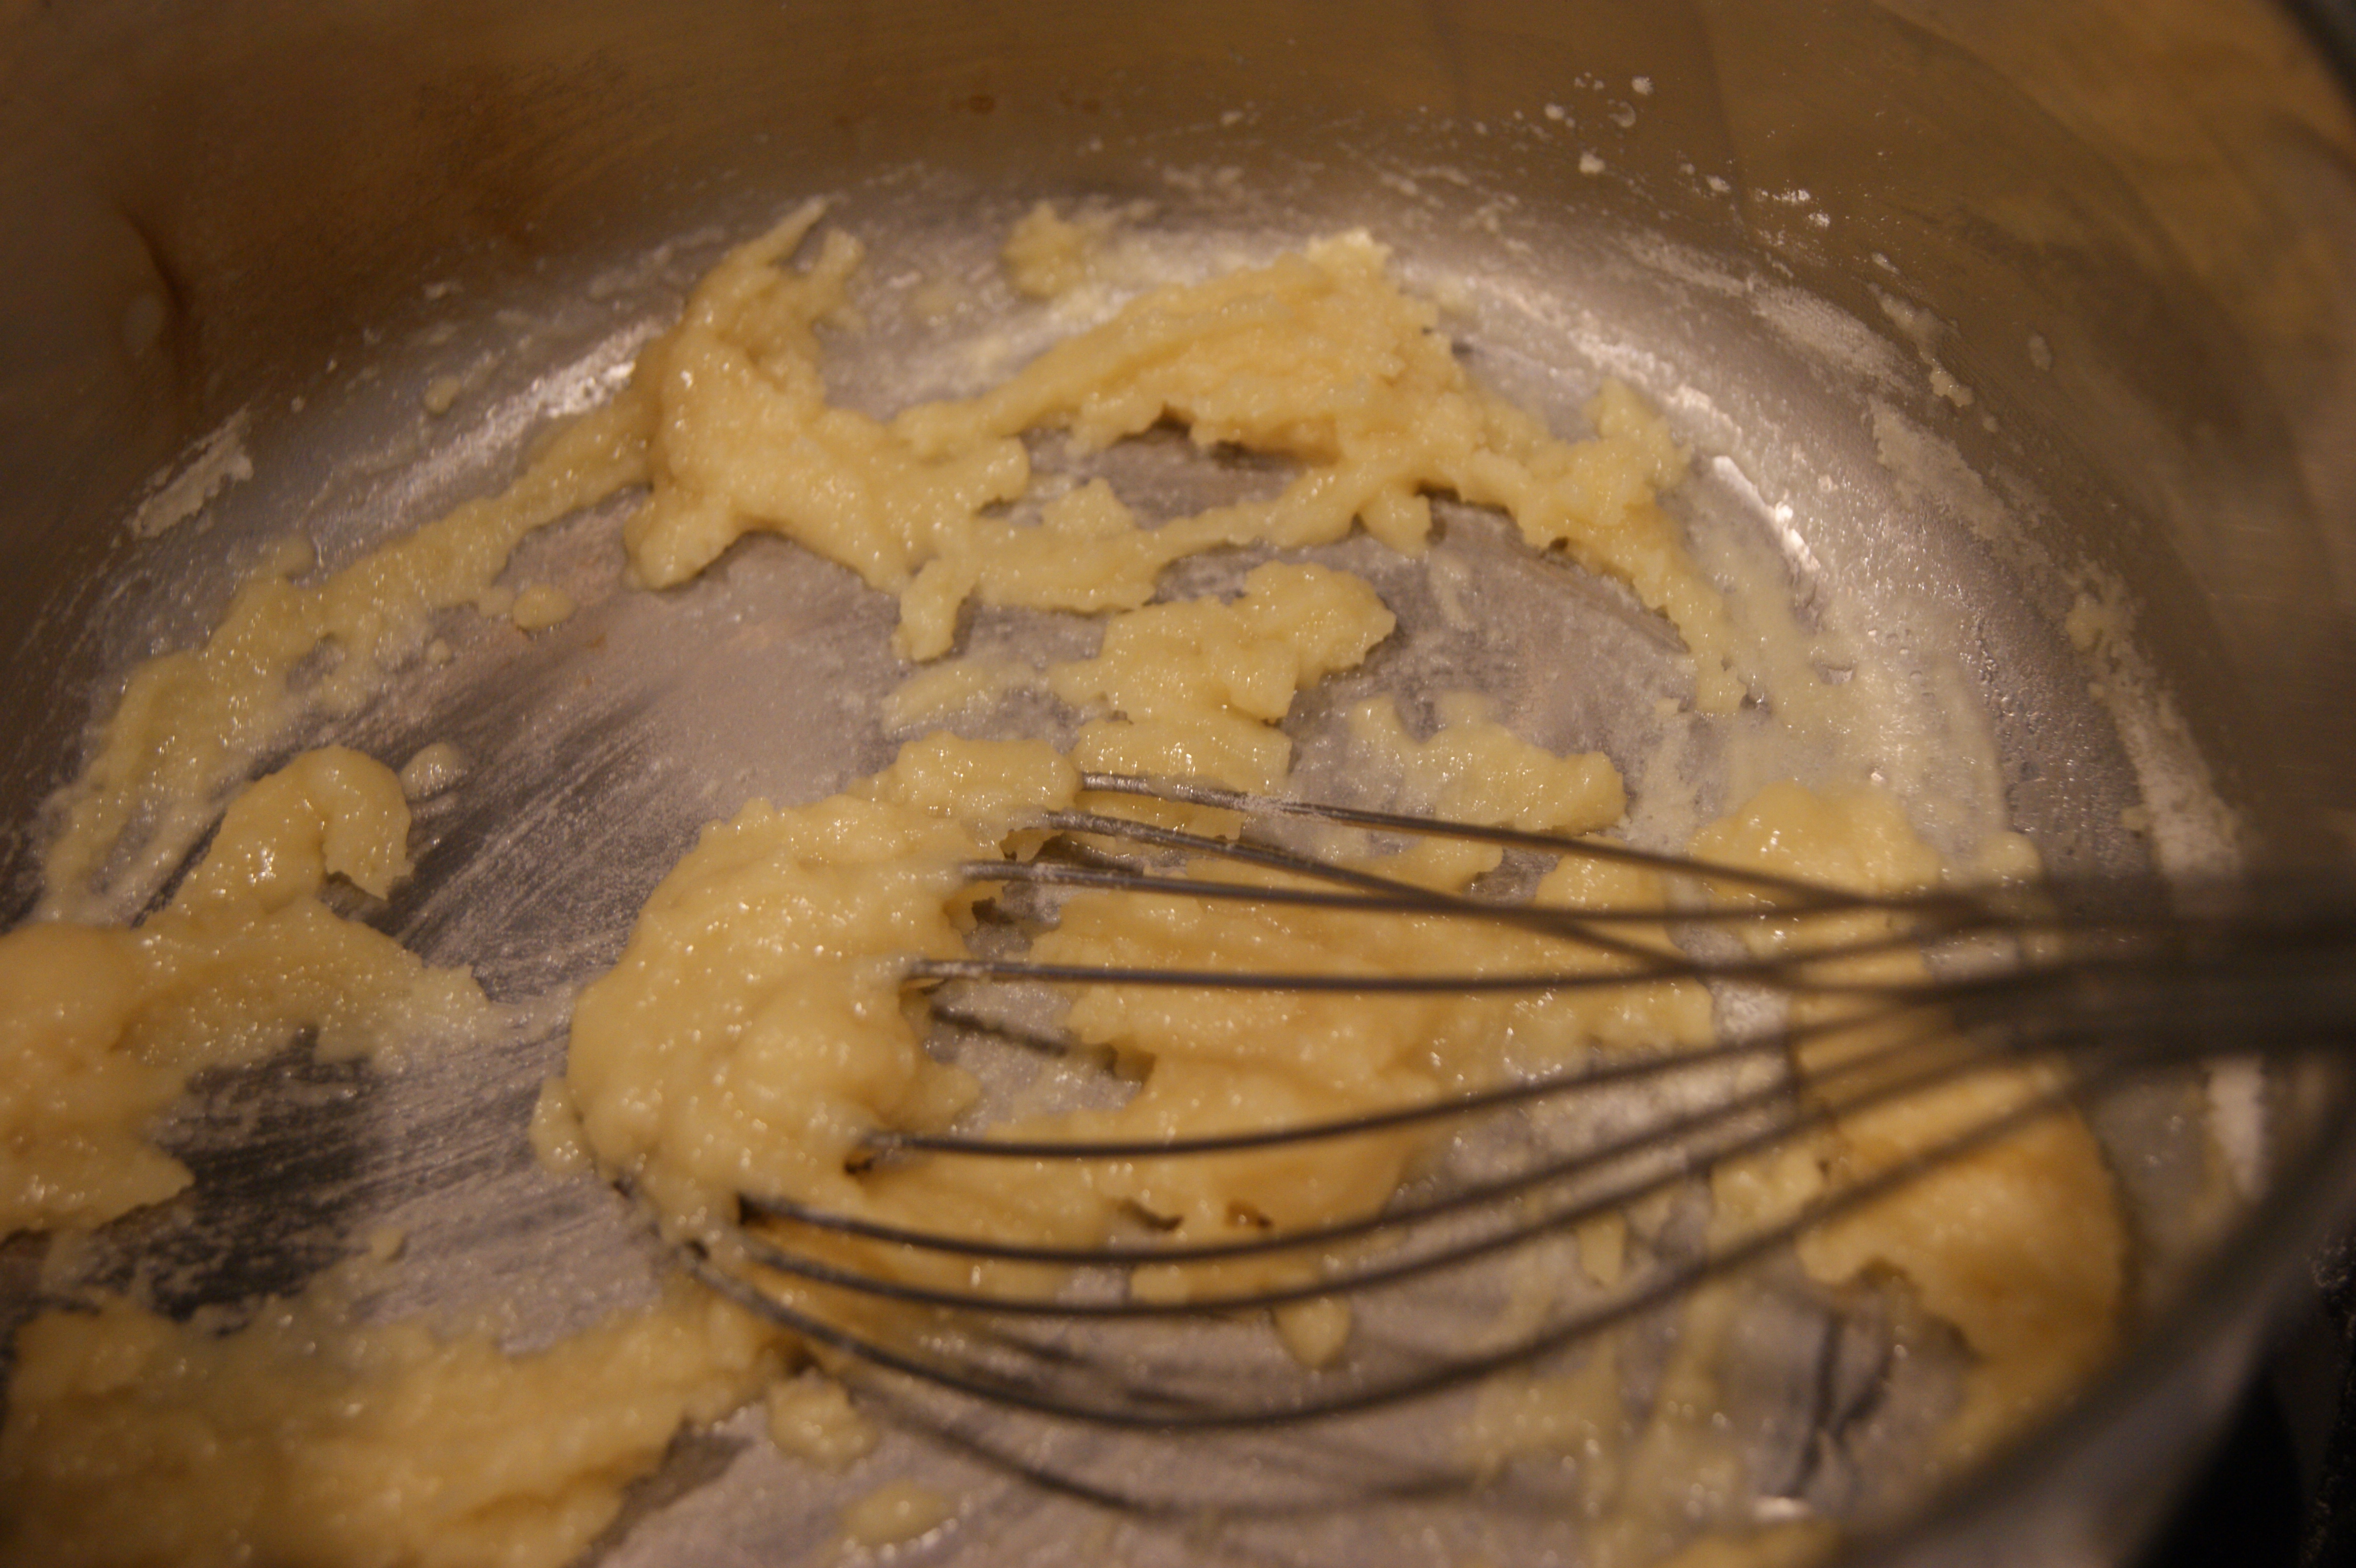
First task is slice those potatoes and place them in a container filled with cold water. Once that is done the rest is a breeze. Get your pot on to the stove and melt the butter keep this on low and add your flour and make a thick paste. Like a roux. 


Now whisk in the milk and add the seasonings. Keep stirring while adding the one cup of cheese until the cheese has melted and the sauce is smooth. 


Grease the bottom of your 8x8 pan prior to adding your sliced potatoes. Now the sauce is done, potatoes sliced, pan greased. Add half of the potatoes and cover evenly with half the cheese sauce on the potatoes. 


Take the last of the potatoes place them on top of the cheese in the pan and cover with the remaining sauce. Top it all off by sprinkling with the 1/2 cup of cheese left. I also sprinkle smoked paprika on top cause it looks good. 


Now pop that pan in the oven set at 350 degrees and let it cook for approximately 45 minutes. Check them after 30. I added 15 minutes because I like mine crispy on the top. 


And Wa-La here they are !